Of cource, we can share our memories and we can collect the memories, but do you know how to make 3D video memories and can beshare on DVD forever? That's very easy and is what I going to do.
First, we need help from third party software for example Video Converter Ultimate, don't worry it's hard to going, it's veryeasy to handle and we can get free download version for trial. Click here to get free download.
Then run it.
When install, you can check 'Install Video Download Plugin' that will help download video online more quickly.
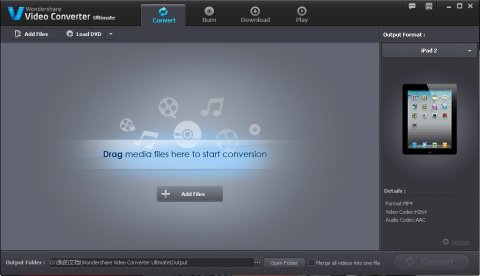
After install, drag the media file you want to edit into it or if your video is on DVD, you can 'Load DVD' to convert to 3D videos.
For 'Out put format', you can select 'Favourite' format you use usually, 'Format' you want to convert,here is lots of formats, you can select HD, 3D,Web format to convert, or 'Device' you're using like iphone, ipad, samsung phone and other phones, gameconsole, Nokia, etc.
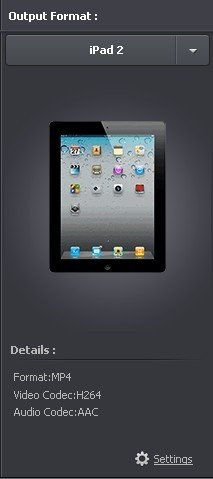
Here I select out put format for iPad, then Convert. This is a common ipad video format. And I connect ipad to PC with Dock Connector to USB Cable Sync Data Charger throught my new ipad mini survivor case port, then transfer video to ipad, it's very fast and have a nice output effect for my ipad.
And I convert video to 3D Mp4 video, too.
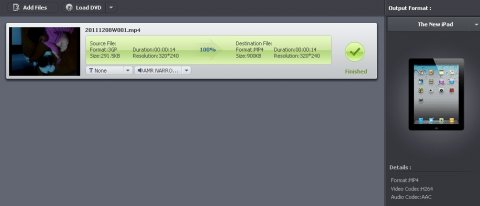
When finished, we can compare the two differect format effect.
For more about Visual Audible Gift, please check out.
Here are more functions to edit video for unique memories effect, and you can burn video to DVD with the same effect directly, too.
For example, how to remove commercial part in videos?
To remove commercial clip in videos, here are some tips for you.
Step 1: Clip the videos to remove the commercial part
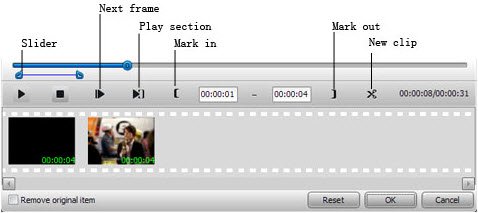
Click Edit->Clip, you will find 3 ways to clip videos:
A. Drag the slider
Drag the sliders under the progress bar to mark the beginning and the end of the clip.
B. Control the Mark In and Mark Out buttons
Click the Mark In button to mark the beginning of your clip and Mark Out button to mark the end of your clip during thepreview.
C. Set the Start time and End time
Type certain time number in the text boxes manually.
Click the New Clip button to clip the selected video and start a new segment.
Step 2: Merge the remained part into one
Click the OK button on the Clip window to save the clipping settings and return to the main window. Select Merge Into One File,the program will merge the clips of the video after conversion.
No comments:
Post a Comment
Note: Only a member of this blog may post a comment.